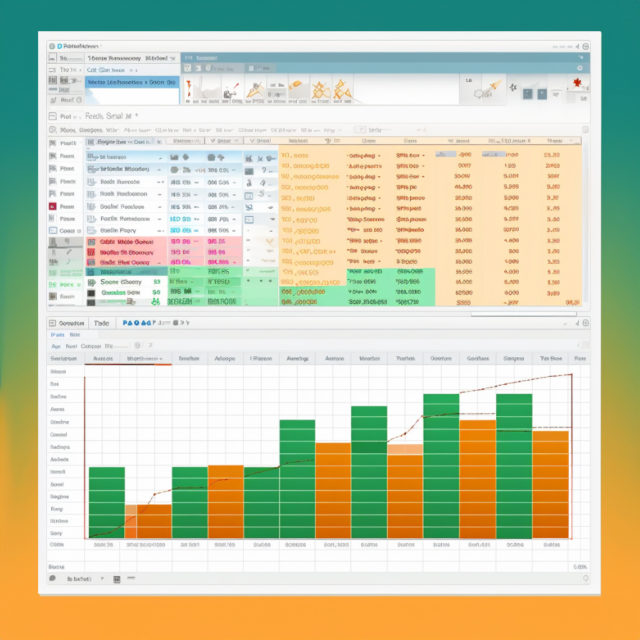
Navigating the world of data can be challenging. With raw figures and numbers that may […]
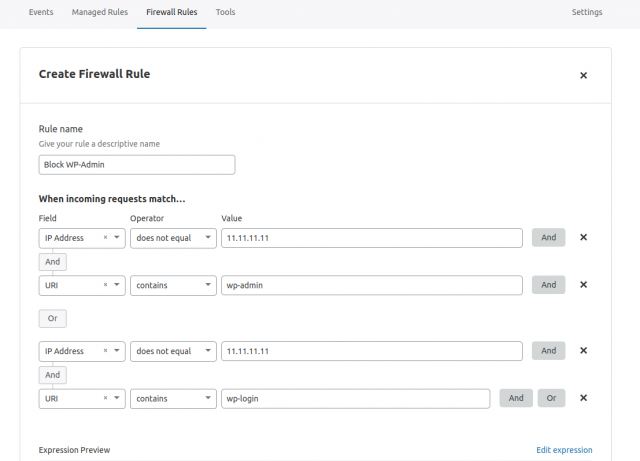
Cloudflare has a lot of built-in one-click security and impovement options for all kind of […]
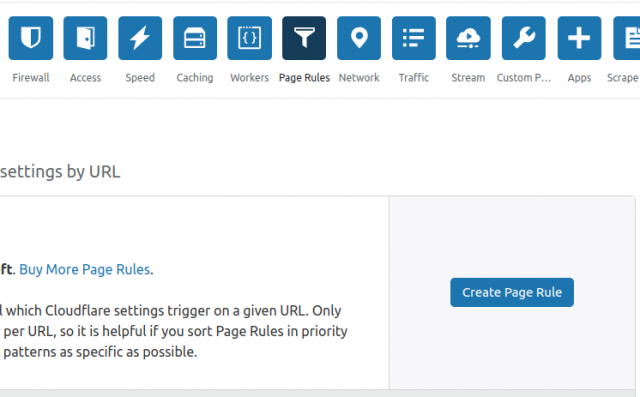
Usually shared hosting panels have simple parking, forwarding tools. But when it is about cloud/dedicated […]

In this article we have listed 4 best known video editors which are cross-browser and […]
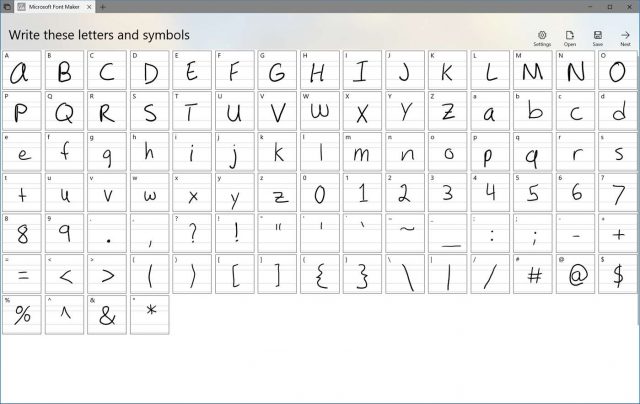
Microsoft told about they were working on Font Maker in the summer of 2018. Now […]

The founder of Product Hunt, Ryan Hoover, told in his Twitter about a service that […]
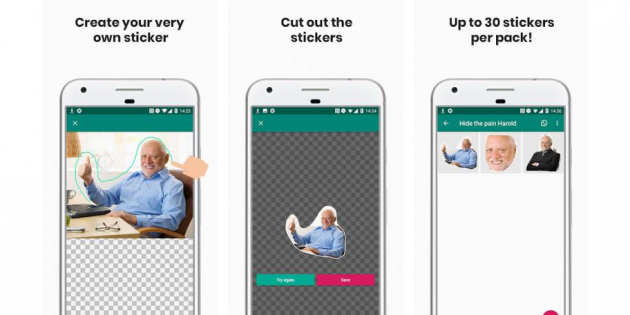
The tool is able to immediately download the set to the messenger. Android users can now create […]

Now, through the browser, you can work with cryptocurrencies and blockchain. Opera for Android has […]

There a lot of Baby Sleep apps on Play Store and Android. “Baby Sleep – White […]
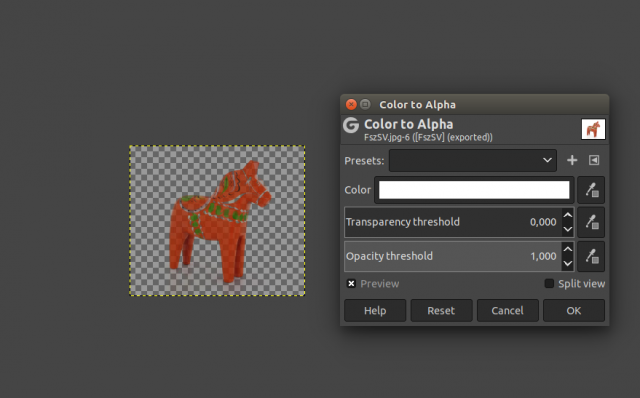
Quick Description Here are quick and easy steps on how to remove white background from […]