Creating localhost in Linux systems is very easy, you can install apache2, php, mysql separately and then integrate them or you can use ready packages for this(such as LAMP).
What if you have already one localhost under 127.0.0.1 IP and you want to create second one? In this case you don’t need to install additional software. You just need to dublicate some files and configure them. Let’s get started how to do it.
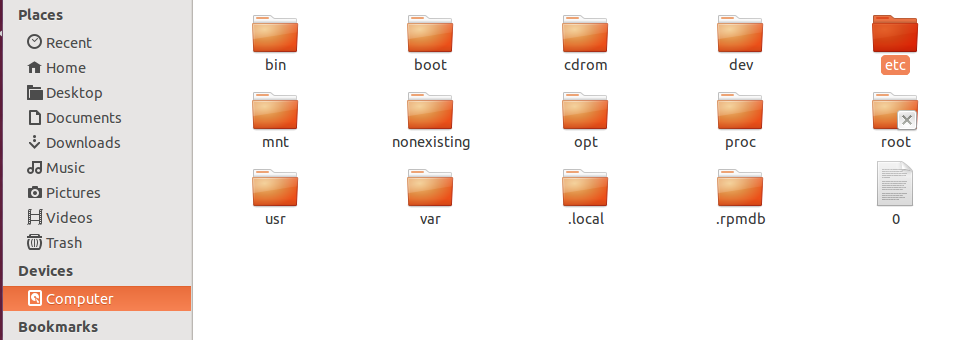
- Open your terminal and type: sudo nautilus -> You will be asked for password and after entering password you will see nautilus file manager opened under the root user. Choose Computer tab in the left side and then navigate to /etc/apache2/sites-available
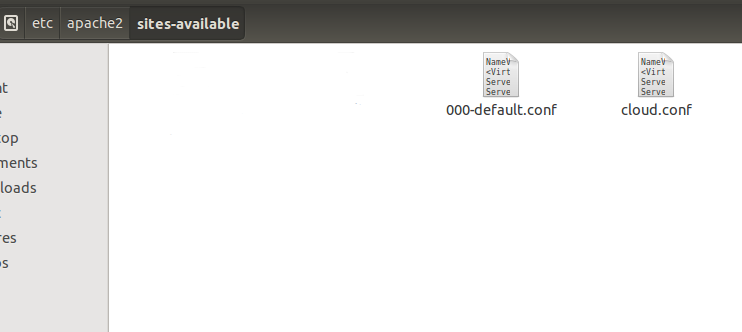
- You will see conf file in that directory. F.e. 000-default.conf. Duplicate it with copy-paste, rename it to desired name and open pasted file in editor.
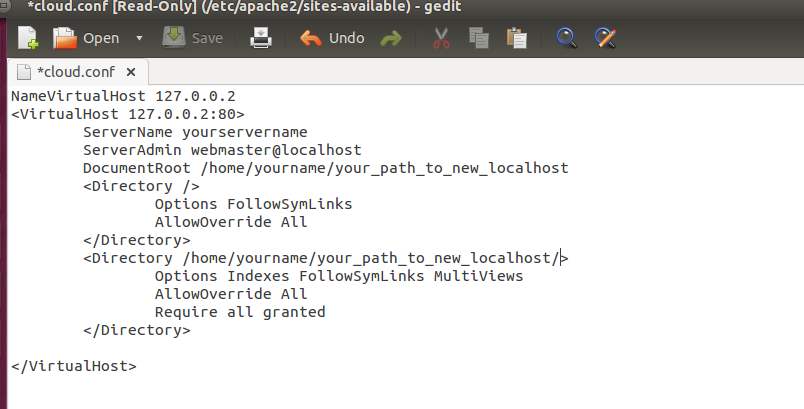
- Just rename root directory and IP in opened file and save it.
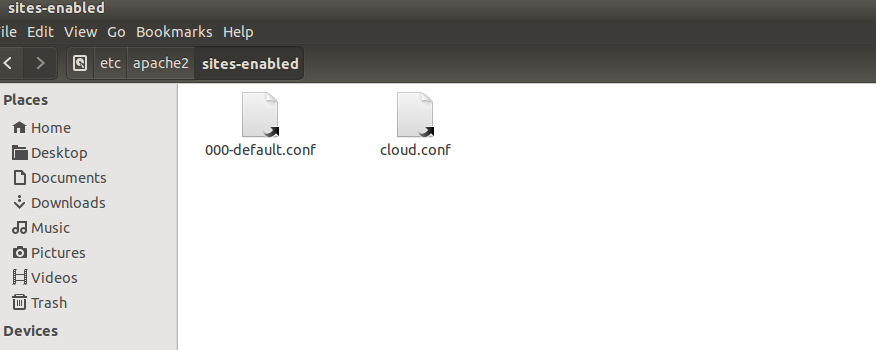
- Your new local host is ready. Now it is time to enable it. Make its symlink with right click-make link on the new .conf file. You should see newly created symlink file there. Cut-Paste it to /etc/apache2/sites-enabled directory.
- Now restart Apache with sudo /etc/init.d/apache2 restart in your terminal.
- Your new localhost 127.0.0.2 ready.
It is possible to do it without dublicating file and creating symling, in one conf file. But for clearness we did it separately.